
RetroPie is one of the emulators running on Raspberry Pi that lets you play your favorite childhood games including SNES, NES, Atari, etc. You can install it on top of an existing Raspbian OS or readily install it on your SD card with the RetroPie image.
This tutorial will teach you how to install RetroPie on your SD card for your Raspberry Pi 3.
Step 1 – Download the image
Go to: https://github.com/RetroPie/RetroPie-Setup/releases/tag/4.2
and make sure to download the Raspbian Jessie (retropie-4.2-rpi2_rpi3.img.gz) Raspberry Pi 2/3 version since you are going to install it on your Raspberry Pi 3.
Step 2 – Extract the file
After downloading the .gz file, extract the file using your favorite extraction tool. Remember the directory where you extracted the .img file.
Step 3 – Burn the image
There are several ways to do this but we recommend that you use Etcher. It is fast and utilizes a simple interface that makes burning images on SD cards a breeze.
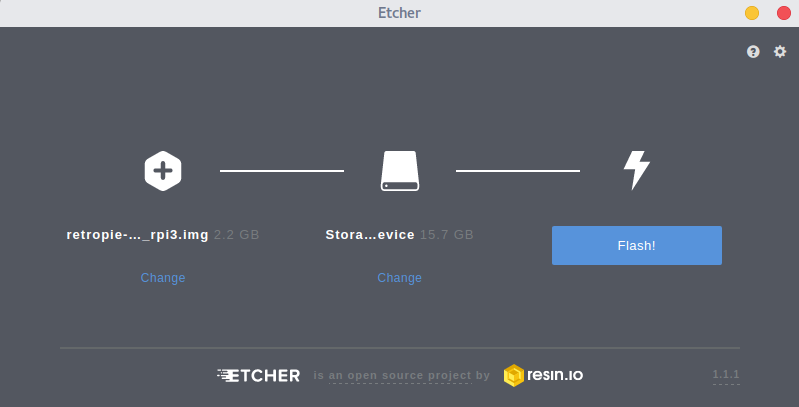
Navigate to the extracted .img file and choose the SD card where you want to install RetroPie. Click Flash! and you’re ready for your first RetroPie bootup!
Setting up your first game
Now that you’ve already installed RetroPie, it’s time to play some games! First, you need to configure your gamepad and install your chosen game ROMs. We don’t endorse piracy, you should only download ROM’s of games that you own.
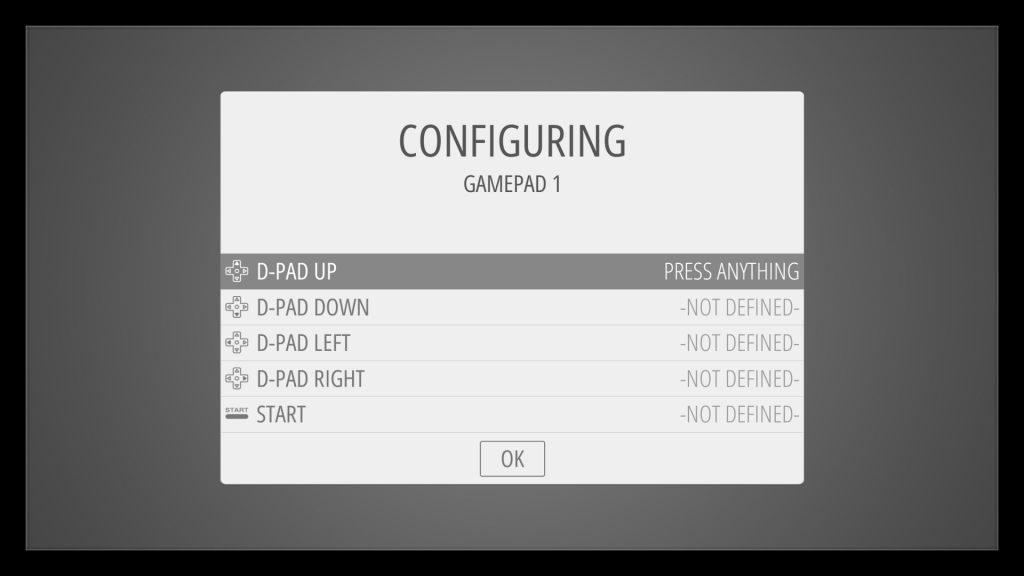
Step 1 – Configure your gamepad controller
Connect your gamepad controller via USB. RetroPie will automatically detect your gamepad.
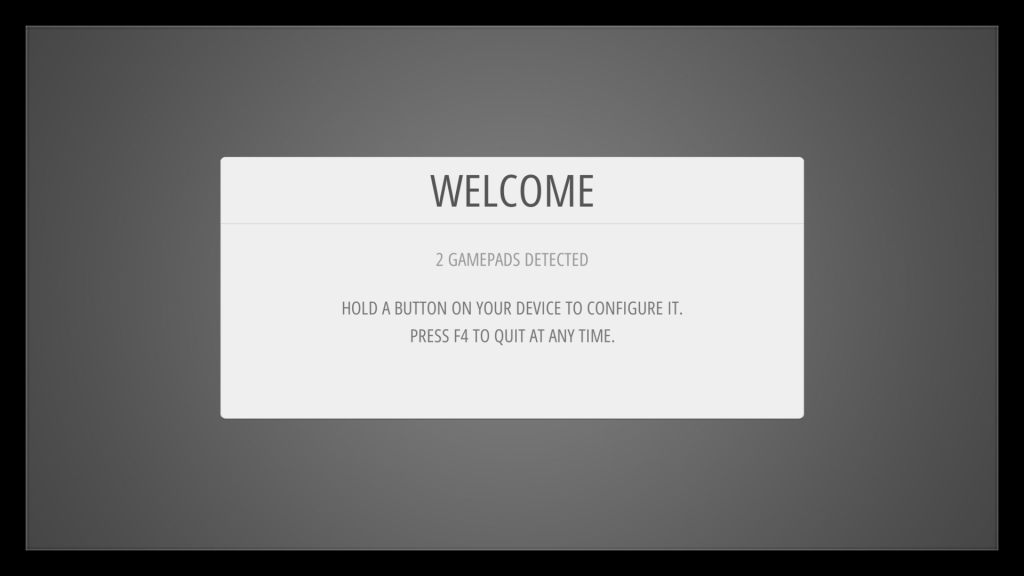
As the instruction says, hold any button to start configuring your controller.
Step 2 – Transferring ROMs
ROMs or Read Only Memory are the electronic versions of your old game cartridges. There are currently three main methods of transferring your game ROMs – via USB, via SFTP, and via Windows Samba Shares.
via USB
- make sure your USB is formatted to FAT32
- create a
retropiefolder in your flash drive - plug into your Raspberry Pi 3 and wait for about 10 seconds and plug it out
- plug your flash drive again to your computer and you’ll see that the
retropiefolder has been populated by 3 subfolders. Copy your ROMs in your into theroms/$CONSOLEsubsubfolder. (e.g. put your Super Mario World game ROM inroms/snes) - plug into your Raspberry Pi 3 again and wait for about another 10 seconds
- choose quit from the start menu
via SFTP
- Connect your Raspberry Pi 3 to your network.
- Download WinSCP for Windows or Cyberduck for Mac. Follow these connection settings:
* Protocol: SFTP
* IP Address: you RetroPie’s IP address, if you’re having trouble finding your IP Address, follow this guide here
* Username: pi
* Password: raspberry
3. Drop the files in ~RetroPie/roms/$CONSOLE folder where $CONSOLE is the corresponding console the ROM should be played.
via Samba Shares
- You can access Samba Shares depending on your OS
* On Windows, type \\RETROPIE in your computer folder
* On Mac, open finder, select “Go”, and then “Connect to Server”, input smb://retropie and hit “Connect”.
2. Drop the files in ~RetroPie/roms/$CONSOLE folder where $CONSOLE is the corresponding console the ROM should be played.
Step 3 – Play!
You will see something like this, depending on your transferred ROM.
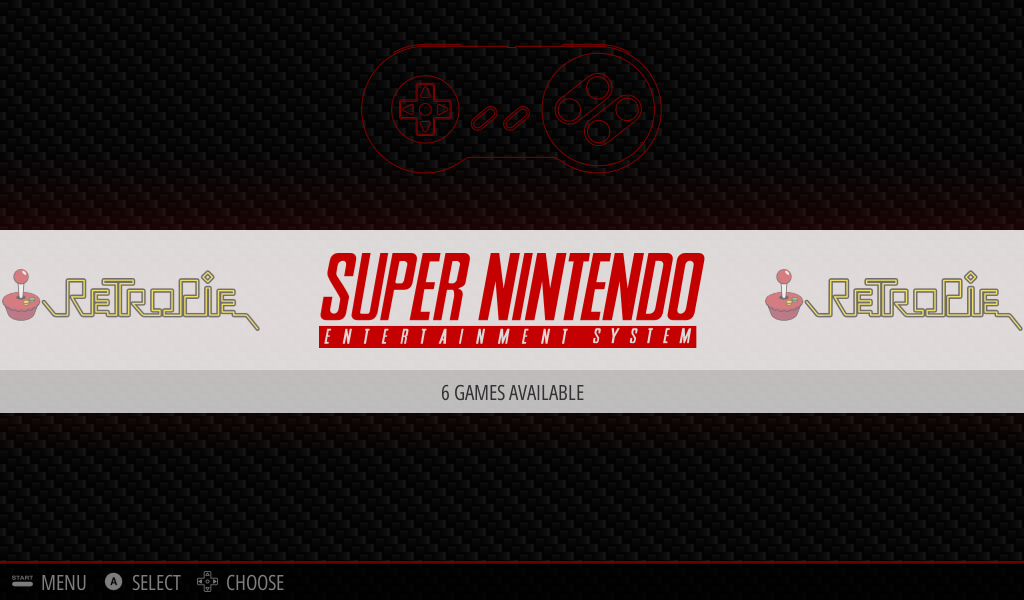
Choose your game and enjoy!