Posted on

Setup your Retroflag MEGAPi CASE with Fan Control Board

RetroFlag MEGAPi CASE Fan Control

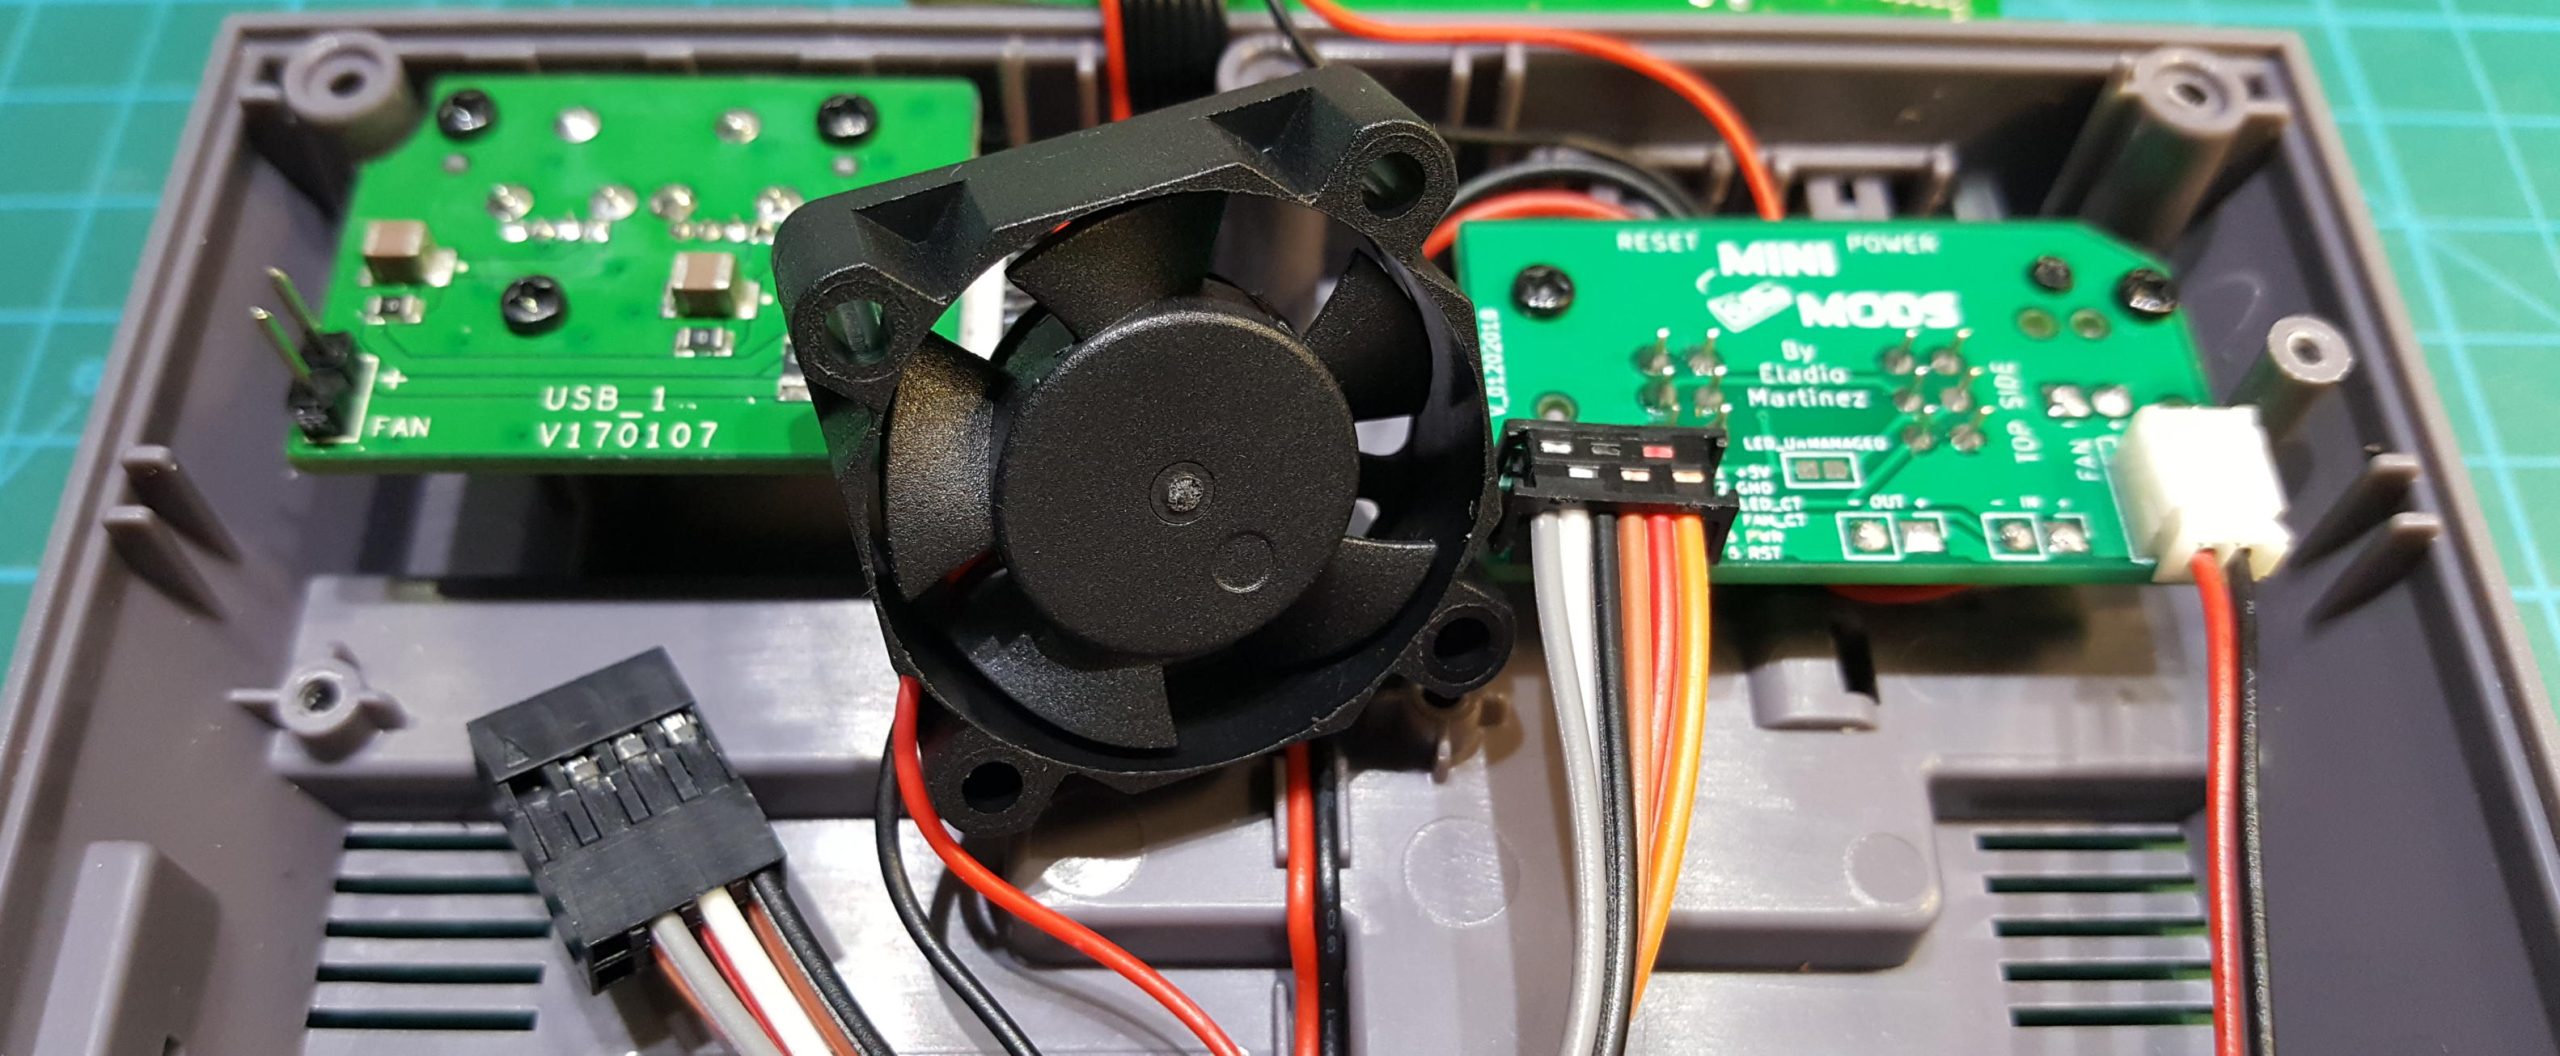
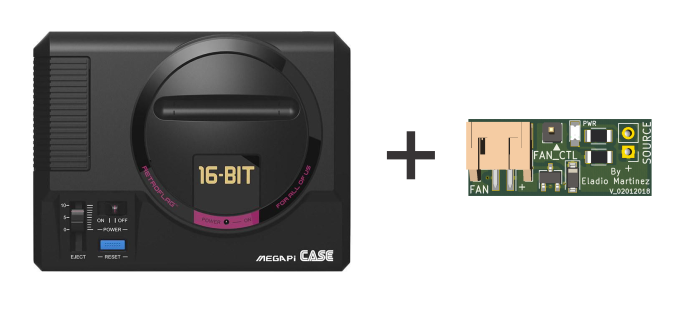
A common modification to the RetroFlag MEGAPi CASE when running emulators is to add a fan to cool down your Pi as some emulators can stretch your board’s resources, causing it to get hot, you have probably tried simply connect the fan to the provided fan header, just to find out the fan will be constantly running whenever the power switch is pressed, there is actually a better way, by installing the mini-mods Fan Control Board you can control the fan to turn ON only when your Rasperry Pi reaches a designated temperature and turn back OFF when the system has cool down.
Continue reading Setup your Retroflag MEGAPi CASE with Fan Control Board

Posted on

Setup your Retroflag SUPERPi CASE-U with Fan Control Board

RetroFlag SUPERPi CASE Fan Control

A common modification to the RetroFlag SUPERPi CASE-U when running emulators is to add a fan to cool down your Pi as some emulators can stretch your board’s resources, causing it to get hot, you have probably tried simply connect the fan to the provided fan header, just to find out the fan will be constantly running whenever the power switch is pressed, there is actually a better way, by installing the mini-mods SUPERPi-U Fan Control Board you can control the fan to turn ON only when your Rasperry Pi reaches a designated temperature and turn back OFF when the system have cool down.
Continue reading Setup your Retroflag SUPERPi CASE-U with Fan Control Board

Posted on

Setup your Retroflag NESPI Case with Fan Control Board

RetroFlag NESPi CASE Fan Control

A common modification to the RetroFlag NESPi Case and the YIKESHU Black NES Case when running emulators is to add a fan to cool your Pi as some emulators can stretch your board’s resources, causing it to get hot, you have probably tried simply connect the fan to the provided fan header, just to find out the fan will be constantly running whenever the power switch is pressed, there is actually a better way, by installing the mini-mods NESPi Fan Control Board you can control the fan to turn ON only when your Rasperry Pi reaches a designated temperature and turn back OFF once the system has cool down.
Continue reading Setup your Retroflag NESPI Case with Fan Control Board

Posted on

Adding a fan to your RetroFlag Case

Now that you have finished installing your moded RetroFlag Control board,  it’s time to install a cooling fan with your Raspberry Pi setup, the script we provide to handle RetroFlag POWER and RESET Button Control and RetroFlag NESPi Fan Control have dedicated code to manage your fan, but before you plug and play your fan there are a few things to consider.
Continue reading Adding a fan to your RetroFlag Case

Posted on

How to enable your Raspberry Pi 3 and Zero W WiFi via terminal

Connecting your Raspberry Pi Boards, Raspberry Pi 3 and Raspberry Pi Zero W, to the WiFi is fairly intuitive if you have access to a graphical user interface of the various Raspian OS versions available.

However, there are some cases that you will have to work with only the terminal or even when you are in headless or SSH mode when the Raspberry pi is connected via LAN. Continue reading How to enable your Raspberry Pi 3 and Zero W WiFi via terminal

Posted on

Setup your NESPI Case with RETROFLAG Control Board

Retroflag NESPi CASE POWER and RESET Button Control and Powerboard

You now have your new NESPi CASE along with your shiny new Retrofalg Control board. Now it’s time for you to assemble and configure it along with your Raspberry Pi 3 to transform it into the mini retro gaming console.

The NESPi CASE Package Box comes with

  • Machine screws
  • Screwdriver
  • Installation guide

Continue reading Setup your NESPI Case with RETROFLAG Control Board

Posted on

Install RetroPie in your Raspberry Pi and Play your First Retro Game

RetroPie is one of the emulators running on Raspberry Pi that lets you play your favorite childhood games including SNES, NES, Atari, etc. You can install it on top of an existing Raspbian OS or readily install it on your SD card with the RetroPie image.

This tutorial will teach you how to install RetroPie on your SD card for your Raspberry Pi 3.
Continue reading Install RetroPie in your Raspberry Pi and Play your First Retro Game

Posted on

How to enable SSH in your Raspberry Pi 3, Raspberry Pi Zero and Raspberry Pi Zero W

Do you want to perform software updates to your latest Raspberry Pi 3 project without dismantling its current setup? Or do you just want to access your Raspberry Pi but you don’t have a dedicated monitor and keyboard for your project? This can all be done via a protocol called SSH that is a built-in feature in all Raspberry Pi with a Raspbian OS.

As you already know, the Raspberry Pi 3, Raspberry Pi Zero and Raspberry Pi Zero W are nifty single board computers with many DIY projects and applications. Most of these projects run “headless”, which means there is no graphical display or monitor and peripheral devices connected to your Pi. Commonly, you access and administer your Raspberry Pi via VNC (Virtual Network Computing) or SSH, which are both available pre-installed in your Raspbian.

Continue reading How to enable SSH in your Raspberry Pi 3, Raspberry Pi Zero and Raspberry Pi Zero W