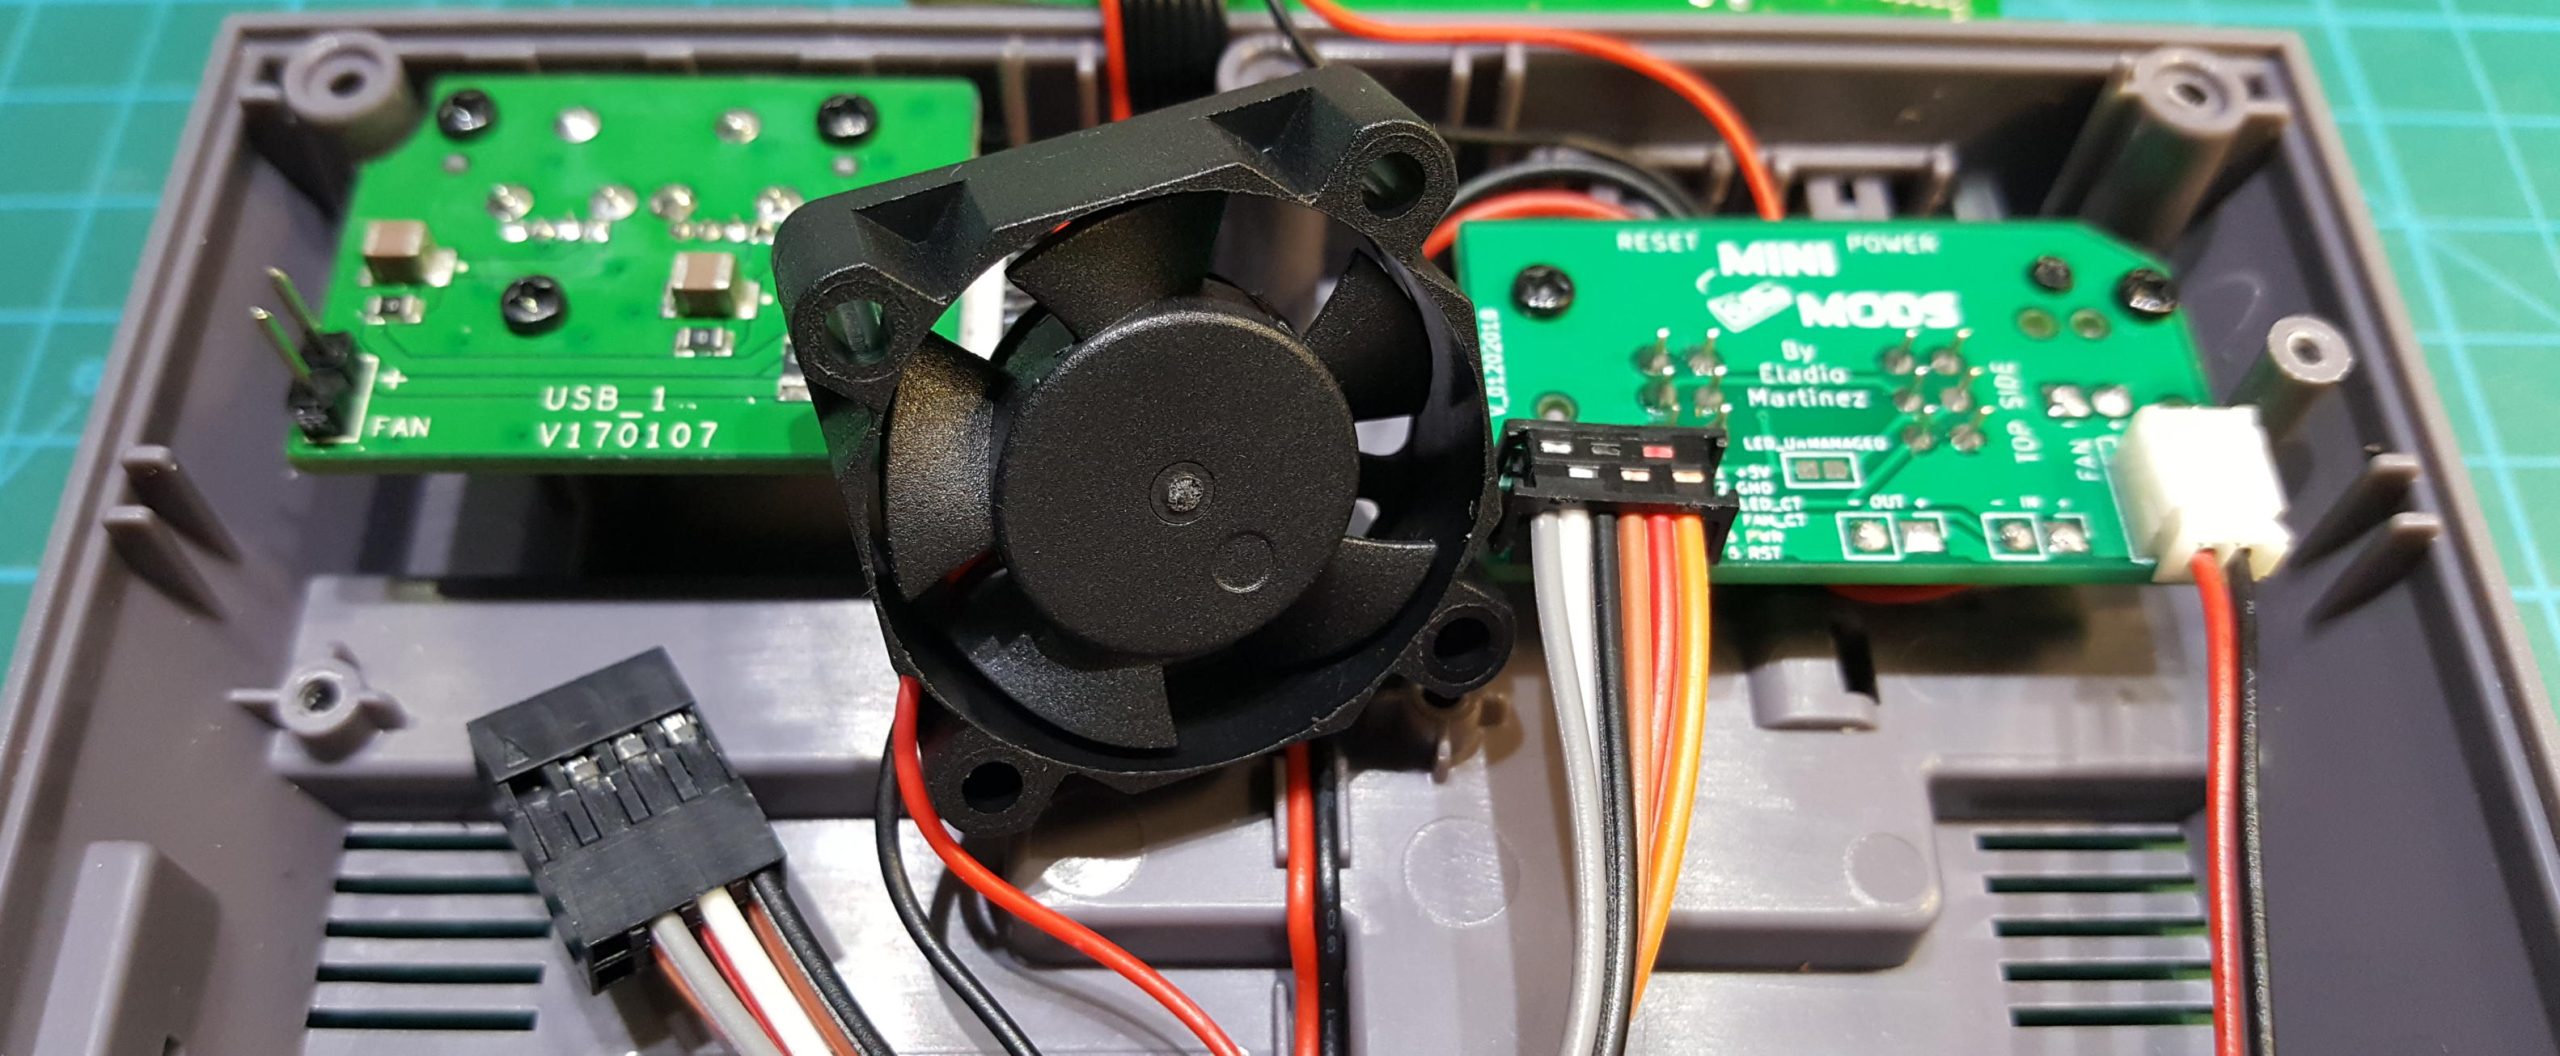
Now that you have finished installing your moded RetroFlag Control board, it’s time to install a cooling fan with your Raspberry Pi setup, the script we provide to handle RetroFlag POWER and RESET Button Control and RetroFlag NESPi Fan Control have dedicated code to manage your fan, but before you plug and play your fan there are a few things to consider.
Almost all cooling fans that you can buy for the Raspberry Pi make use of 5V 0.2A and they are packaged with the two wires attached together either to a JST or Dupont connector. Unfortunately, the order of the Power and Ground is not standard and if is not in the correct order that the RetroFlag POWER and RESET Button Control and RetroFlag NESPi Fan Control can handle your fan will not start.
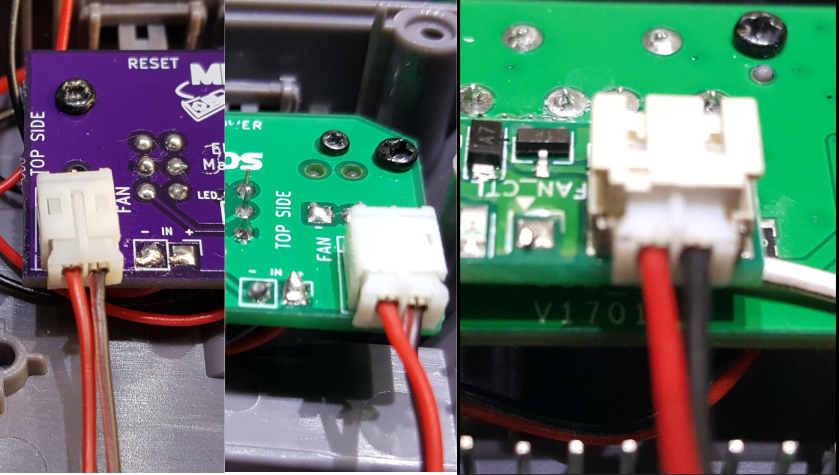
Fan Polarity
The following image shows the correct polarity your fan has to have to properly work with our Custom PCB, connecting the Dupont connector is easy but for the JST connector, use a small pick to de-attach the cables from the connector and reverse the cables to match the correct polarity.
Changing the Fan Threshold
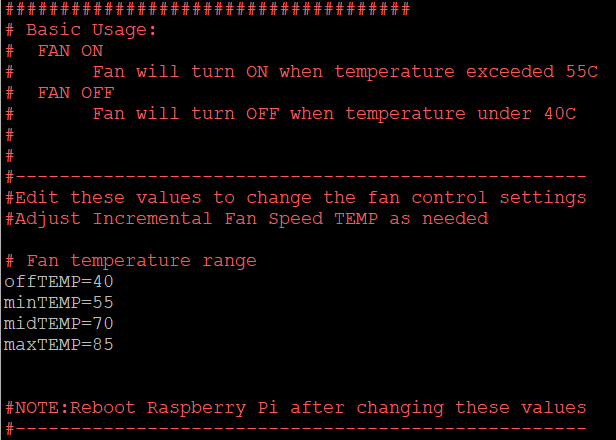
The default configuration for the fan control will turn it ON when the Raspberry Pi exceed 55C and keep the fan OFF once your RetroFlag case gets to 40C, you may want to edit the script to best apply to your fan and applications, also keep in mind a DC 5V 0.2A Fan is recommended.
You will need access to the Raspberry command line via SSH if you need help doing this follow this guide: How to enable SSH in your Raspberry Pi 3, Raspberry Pi Zero and Raspberry Pi Zero W.
For RetroFlag POWER and RESET Button Control:
In the terminal edit shutdown-retroflag.py located in /opt/RetroFlag/ use the following command:
$ sudo nano /opt/RetroFlag/shutdown-retroflag.pyFor RetroFlag NESPi Fan Control:
For Raspbian and RetroPie:
In the terminal edit fan_ctrl.py located in /opt/MiniMods/ use the following command:
sudo nano /opt/MiniMods/fan_ctrl.pyFor RecalBox:
In the terminal edit fan_ctrl.py located in /opt/MiniMods/ use the following command:
nano /opt/MiniMods/fan_ctrl.pyFor Batocera:
In the terminal edit fan_ctrl.py located in /userdata/MiniMods/ use the following command:
nano /userdata/MiniMods/fan_ctrl.pyScroll down until you get to #Edit these values to change the fan control settings section and change the following variables:
offTEMP=40
minTEMP=55
midTEMP=70
maxTEMP=85
The current configuration will turn the fan ON when Raspberry Pi’s temperature exceeded 55C and will turn OFF once the temperature is back to 40C, feel free to tweak this parameter to your liking.
This image shows the default fan configuration on the script.
If you want to change the noise level of your fan, simply change the frequency of the PWM signal, by default is set to 50Hz, just change this number to another number and see how it affects the noise level.

After you finish your changes save the script by pressing Ctrl+X and then answer Y to save the new configuration.
In order for the new changes to be applied, reboot your Raspberry using the following command:
For Raspbian and RetroPie:
sudo rebootFor RecalBox and Batocera:
rebootAfter the reboot, your new configuration will be applied to your Raspberry Pi.