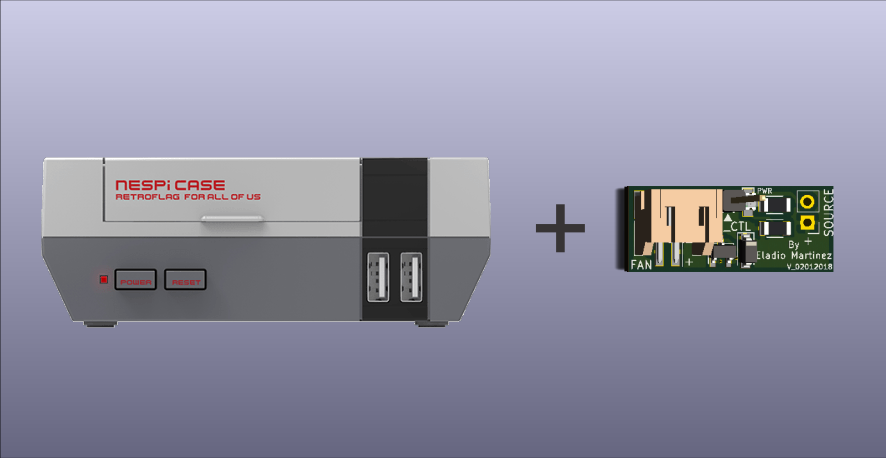
A common modification to the RetroFlag NESPi Case and the YIKESHU Black NES Case when running emulators is to add a fan to cool your Pi as some emulators can stretch your board’s resources, causing it to get hot, you have probably tried simply connect the fan to the provided fan header, just to find out the fan will be constantly running whenever the power switch is pressed, there is actually a better way, by installing the mini-mods NESPi Fan Control Board you can control the fan to turn ON only when your Rasperry Pi reaches a designated temperature and turn back OFF once the system has cool down.
Step 1
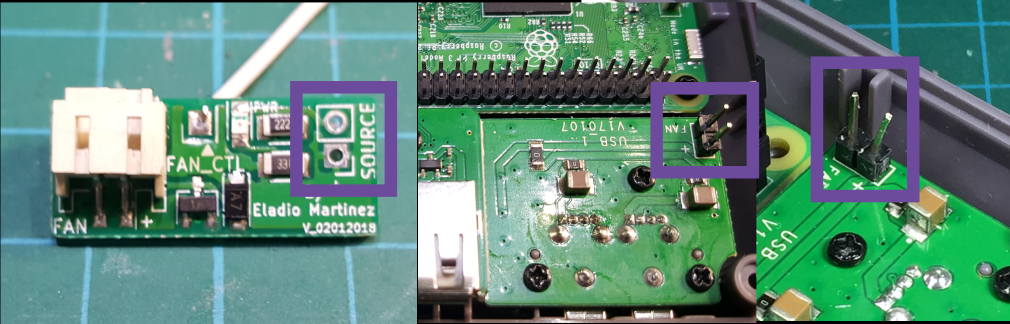
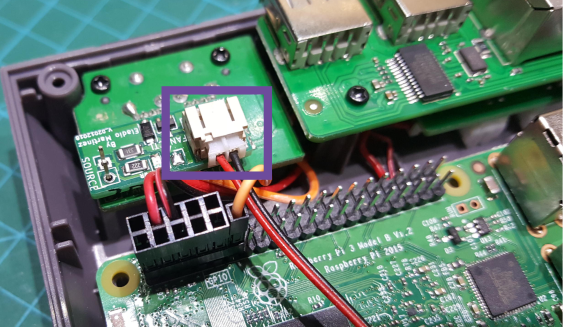
The installation of the Fan Control Board is fairly easy, as use the built-in fan headers of your RetroFalg Case, SOURCE connector of the Control Board will be placed on top of the fan pins as displayed on the image below, make sure to bend the positive (+) side of the pin as shown on the picture, this will act as a locking clip to keep the Fan control board in place.
Please use NESPi Fan Control Board Hardware and Software at your own risk. We do not take responsibility for any damages to your raspberry pi that may occur.
By installing and downloading our hardware and software you are agreeing to these terms.
Step 2
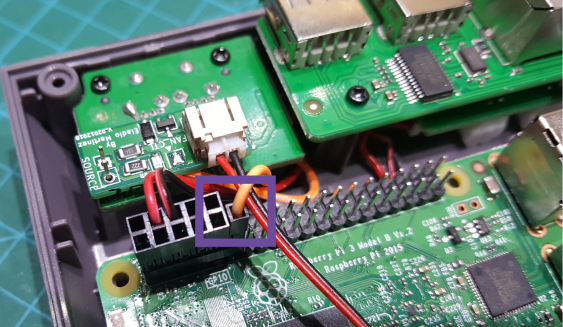
Connect the pin label FAN_CT on the PCB to GPIO 17 (RPI pin 11).
Step 3
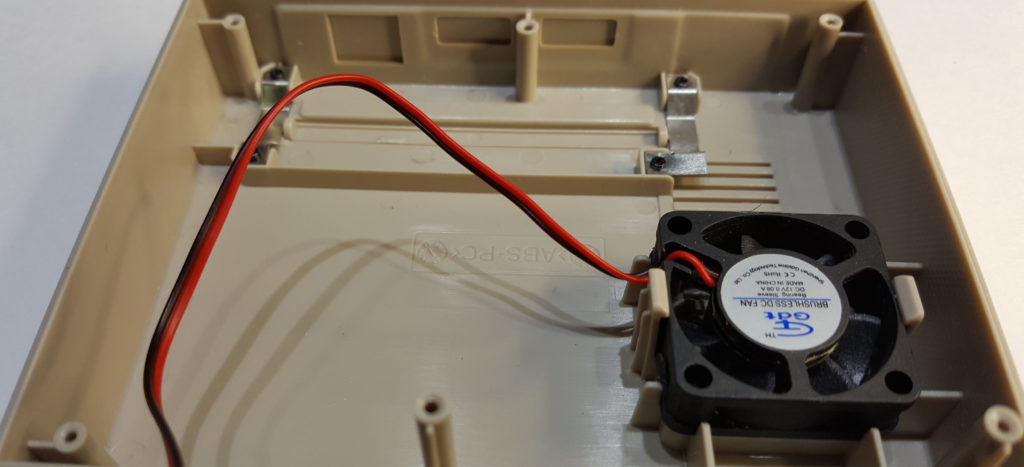
Clipping the fan to the case, this fits pretty tight, but if you insert it on an angle, with one edge inside the clip, then you can press it into the other clip with a bit of prodding and poking.
Step 4
Insert the fan connector to the adapter on the Fan Control Board, make sure is firmly attached.
Step 5
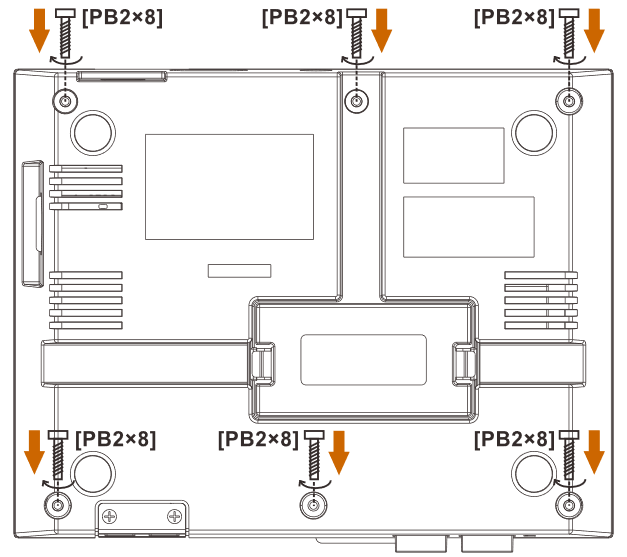
Screw the top component of the NESPi Case to its base.
Step 6
Now that you have assembled your NESPi game console, it’s time to install and configure some files for the Fan Control Board to work along with the Fan and temperature control to keep your Raspberry Pi from overheating. Fortunately, you can do this via online with a one-line code install using wget and bash in the Terminal.
1. Connect your Rasptendo console to a monitor and a keyboard before powering your Raspberry Pi.
2. Connect your Rasptendo to the internet. You may access the internet via LAN or via WiFi.
3. Access the Terminal on your Raspberry Pi.
In the Terminal, type the following command:
For Raspbian and RetroPie:
wget -O - "https://github.com/mafe72/NESPi-Fan-Control-Board/raw/master/install.sh" | sudo bashFor RecalBox:
wget -O - "https://github.com/mafe72/NESPi-Fan-Control-Board/raw/master/recalbox_install.sh" | bashFor Batocera:
wget -O - "https://github.com/mafe72/NESPi-Fan-Control-Board/raw/master/batocera_install.sh" | bashThis will run a command that will automatically configure your Raspberry Pi 3 to access Fan Control Board. Your Raspberry Pi will automatically reboot in order for the changes to take place.
Step 7
After your Raspberry Pi has rebooted, the Fan Control Board is fully configured and will turn the fan ON once the Raspberry Pi temperature exceeded 55C and turn OFF when the temperature is under 40C.
If you want to change the way the fan control software handles your fan, please refer to our blog post: Adding a fan to your RetroFlag Case.

| FAN CONTROL BOARD | ||||||
|---|---|---|---|---|---|---|
|
If you encountered problems during the installation process, refer to a more detailed instruction from our GitHub page.